For an upcoming AI demo, I need to demonstrate moving some images from Azure Blob Storage to OCI Object Storage so that these could be trained using a custom model with OCI AI Vision. I was looking for a nice demo-friendly way to automate this and stumbled across Rclone.
Rclone is a command-line program to manage files on cloud storage. It is a feature-rich alternative to cloud vendors’ web storage interfaces. Over 70 cloud storage products support rclone including S3 object stores, business & consumer file storage services, as well as standard transfer protocols.
Taken from: https://rclone.org/
Within a few minutes I was able to configure Rclone to connect to Azure Blob Storage and OCI Object Storage and was copying files between the two with a single command 😮.
To get started I installed Rclone using the instructions here – for macOS, this was as simple as running:
sudo -v ; curl https://rclone.org/install.sh | sudo bash
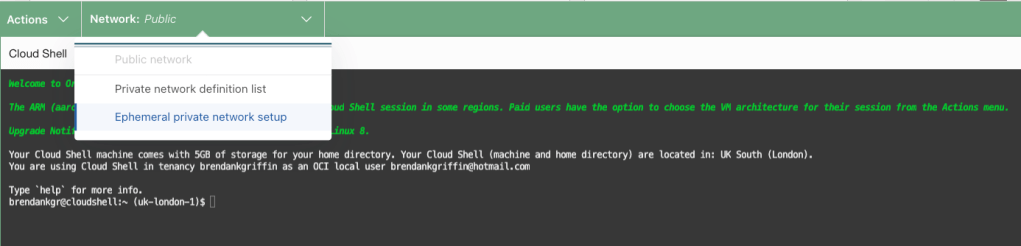
Once I’d installed, I typed rclone config and then n to create a new host, this walked me through the process of creating a connection – including selecting the type of storage (there are 55 to choose from, including OCI and Azure), the storage account to connect to and how to authenticate, I did this for OCI and then repeated the process for Azure.
In terms of authentication, I selected option 2 for OCI, which uses my OCI config file within ~/.oci/config, more details on how to create a config file can be found here.

For Azure I opted to use the access key to authenticate to the storage account:


Once I’d created the connections, I could inspect the configuration file that Rclone had created – the location of which can be found by running rclone config file.

Below is the contents of the configuration file that I have 📄.

I could view the contents of each of the storage accounts (OCI and Azure are the names that I gave the respective configurations, which need to be used with the command):
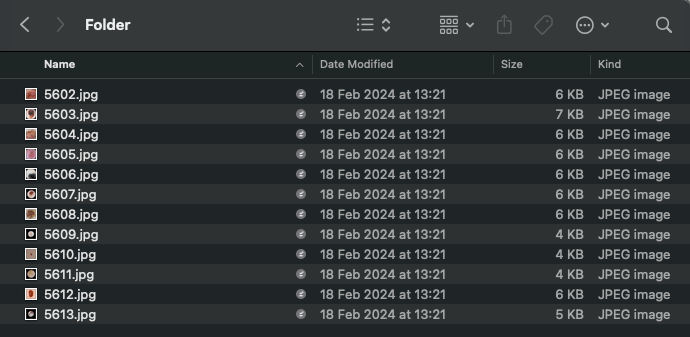
Contents of OCI storage account

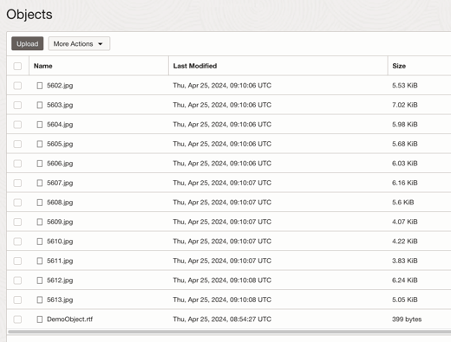
Contents of Azure storage account

Finally, I ran the command below to copy the content of the images directory (container) within Azure to the Images bucket within OCI.
rclone copy Azure:images OCI:Images --progress
Here’s a short video of it in action