A customer contacted me a few days ago as they were unable to create a Mount Target within the File Storage service within OCI, they had two Mount Targets provisioned within their OCI tenancy and were attempting to create a third, when doing this they were receiving the error:
“File System was created successfully but Mount Target creation failed because of error: “The following service limits were exceeded: mount-target-count. Request a service limit increase from the service limits page in the console. “. To enable access to the File System, associate it with an existing Mount Target by adding an Export to it.”

Their PAYG OCI tenant had a limit of 2 x Mount Targets, however when I looked at the documentation the limit is 2 per tenant per Availability Domain, therefore in theory they could have up to 6 Mount Targets (as there are 3 x Availability Domain’s within the region they are using).

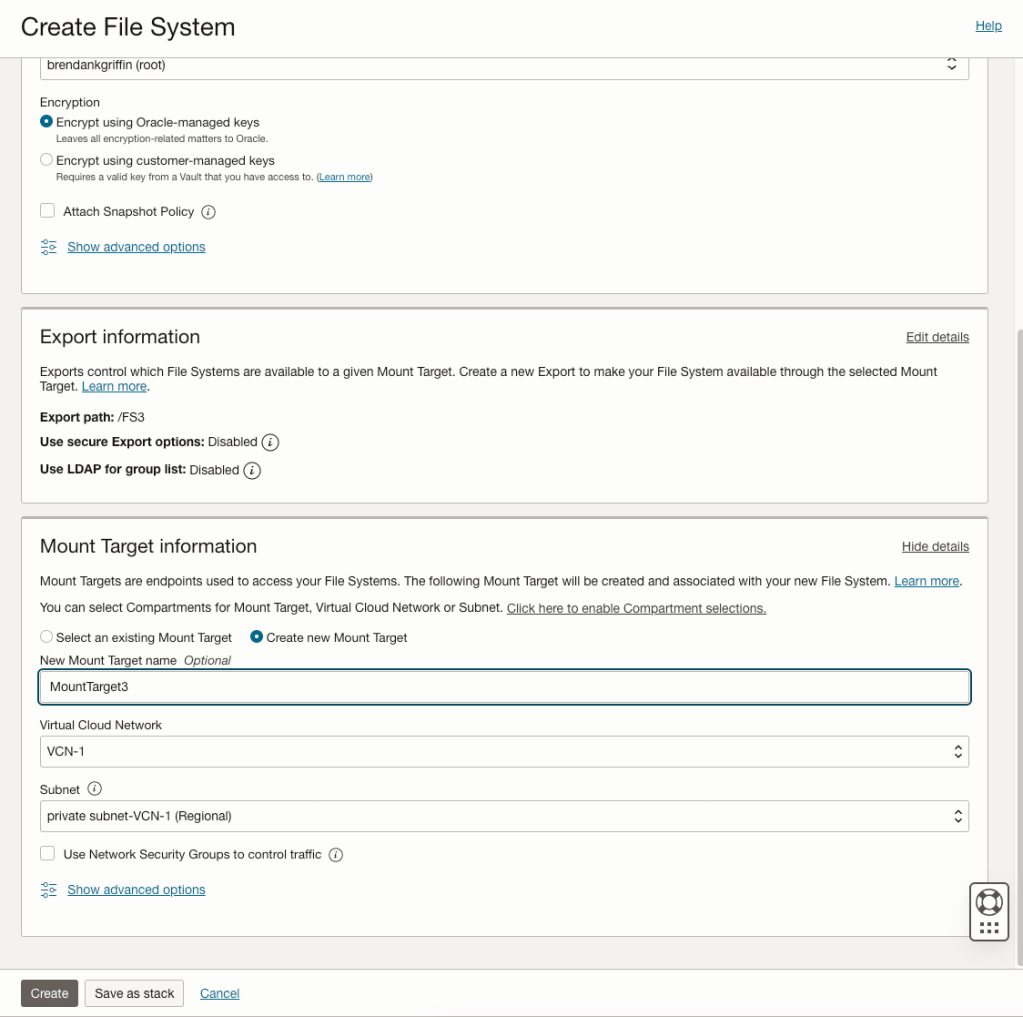
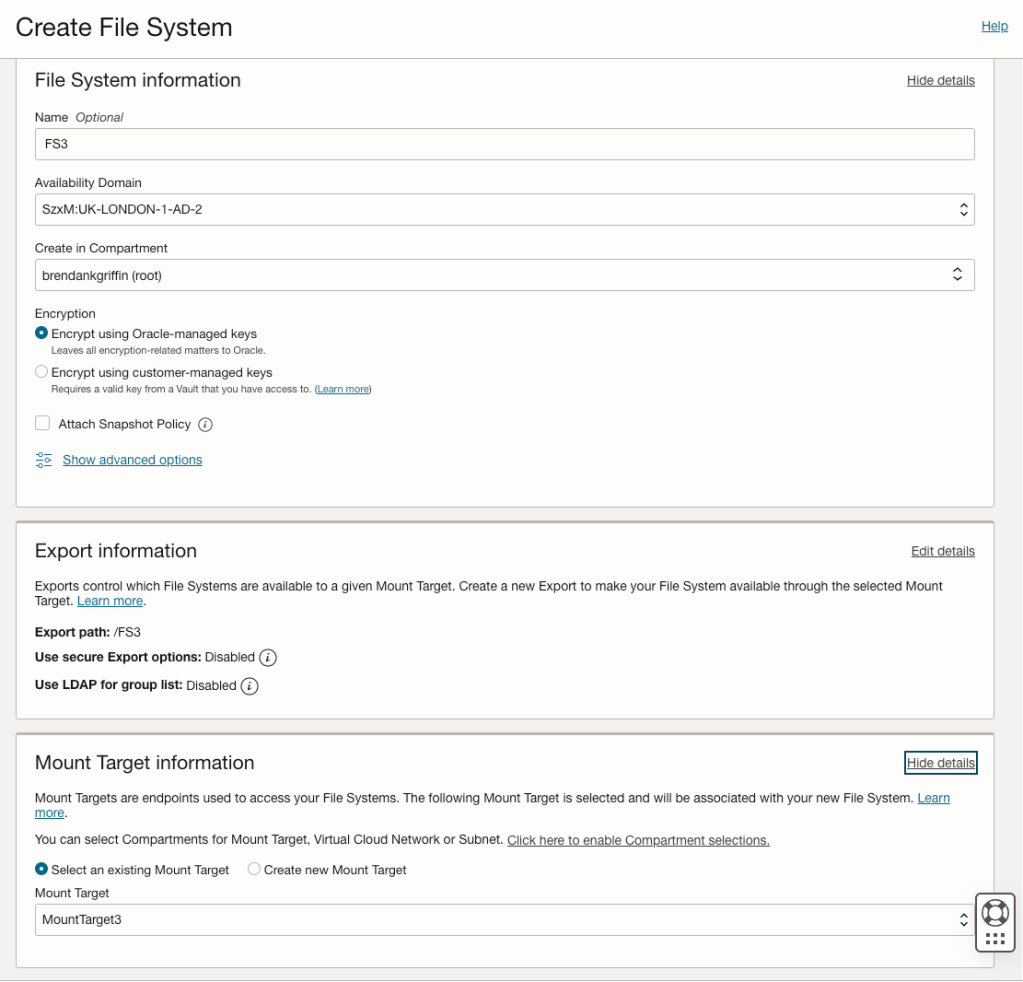
It turned out that they were not given the opportunity to specify the Availability Domain when creating the Mount Points and the two previous Mount Points they had created resided within Availability Domain 1. The reason for this is that they had created the Mount Targets when creating a File System and when creating them this way, it doesn’t provide an option to specify the Availablity Domain to create the Mount Target within (see screenshot below).
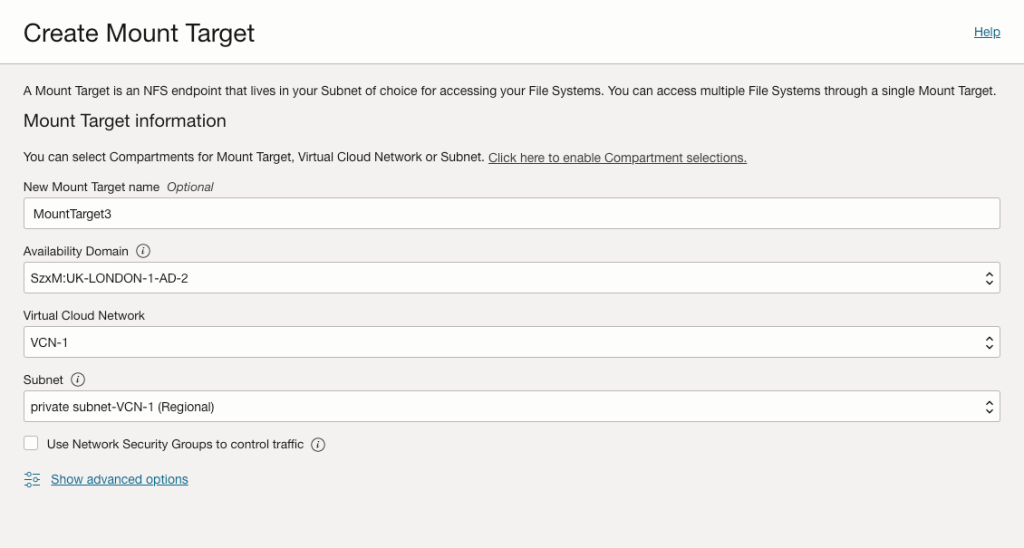
To work around this they created the 3rd Mount Target manually via Storage > File Storage > Mount Targets (within the OCI Console), specifying Availability Domain 2 (UK-LONDON-1-AD-2).
This was created successfully…..they then created the File System but this time selected an existing Mount Target (MountTarget3), rather than having the OCI Console automagically create a new Mount Target for them.
This allowed them to successfully create a third Mount Target and File System 🙌.