Tag: llm

  • Getting the output of a SQL tool in an OCI Gen AI Agent πŸ“Š

    The Generative AI Agent service in OCI recently added the ability to add a SQL Tool, this enables an agent to generate a SQL query and optionally run the query against a database and return the results of the query to the agent πŸ€–. I created a short video that steps through how to use a SQL Tool βš’οΈ with an agent, which can be found here πŸ“Ό.

    More recently (mid-July 2025) the SQL Tool has been further enhanced so that responses include the following:

    • The raw output of the SQL query
    • A conversational “LLM style” response

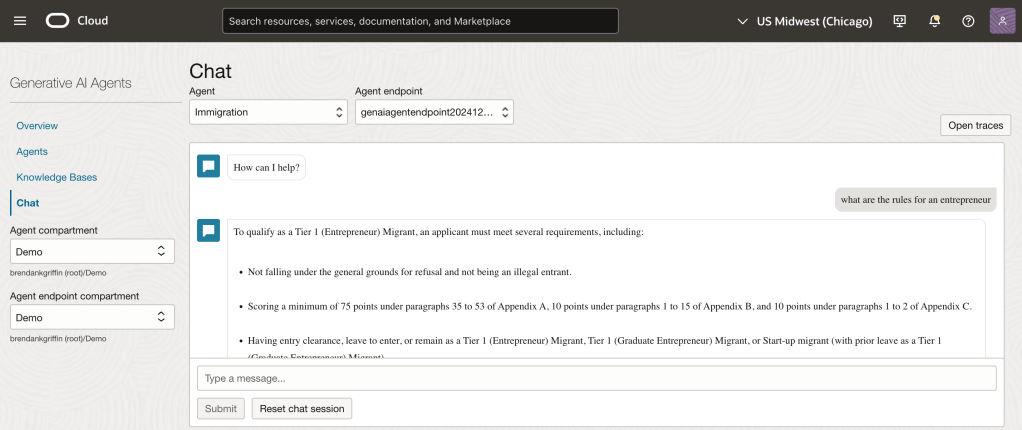
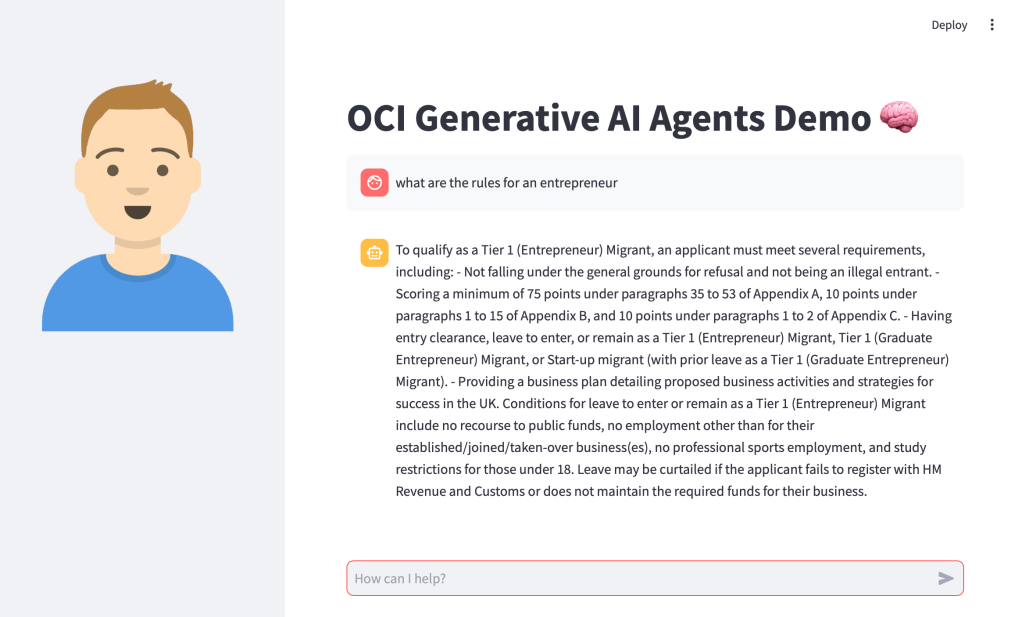
    Previously a SQL Tool would only return the raw output of the SQL query, I found this quite useful as I could use Python packages such as matplotlib to visualise results, as of mid-July responses from the agent also include an LLM style conversational response, for example (taken from my agent that queries a database of bird sightings πŸ¦…):

    Raw Output of SQL Query

    Conversational LLM Style Response

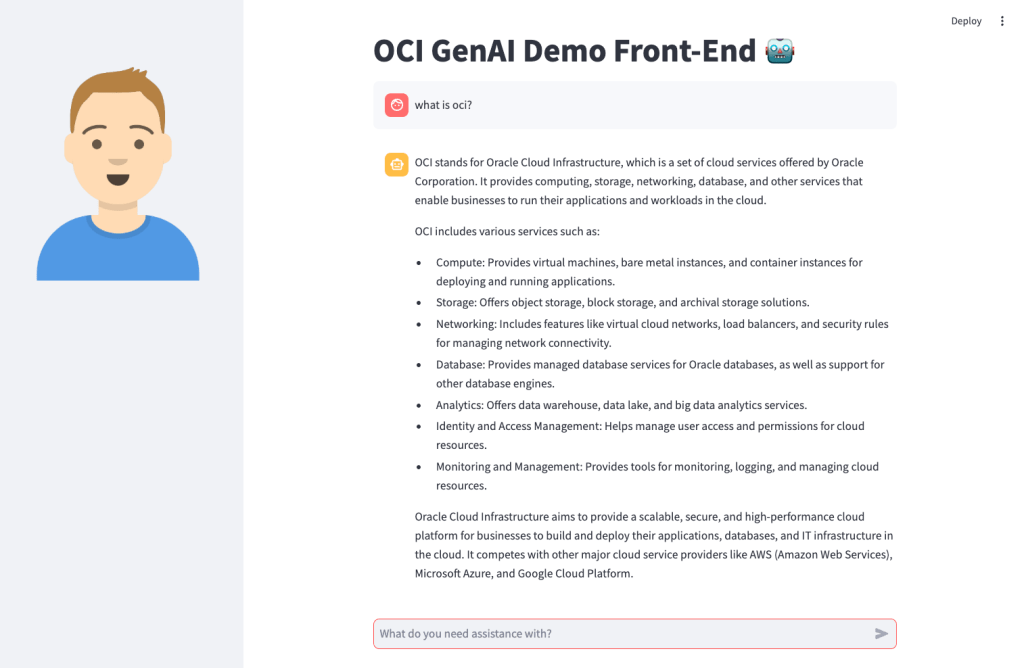
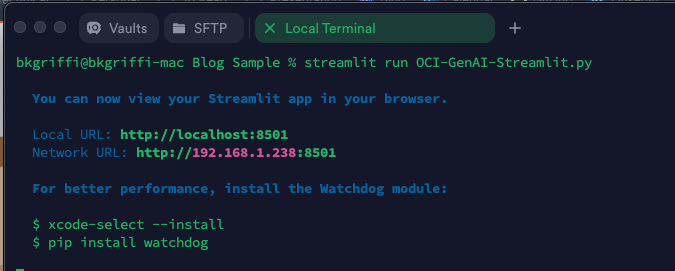
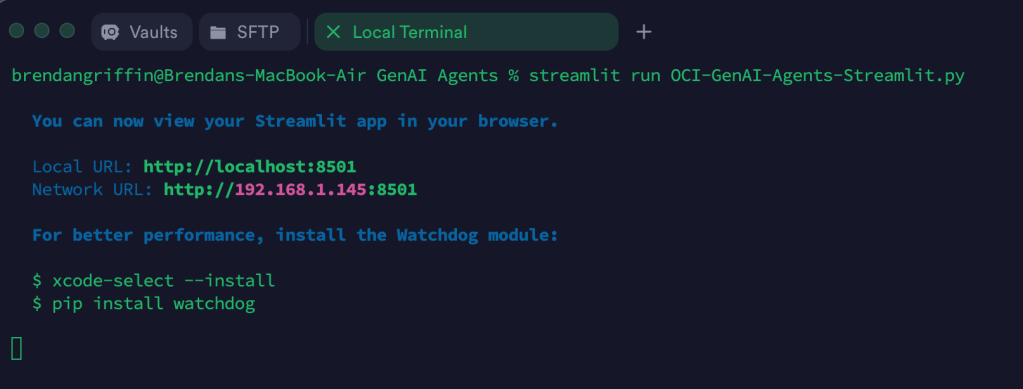
    I’ve put together a short Python script that demonstrates how to get access to this data from a response, I typically use Streamlit as a front-end for the demo agents that I build, however to keep things simple, we’ll use the good old “shell” for this demo!

    Here is the script –

    import oci
    textinput = "what were the 3 most popular birds in 1997"
    config = oci.config.from_file(profile_name="DEFAULT")
    service_ep = "https://agent-runtime.generativeai.uk-london-1.oci.oraclecloud.com"
    agent_ep_id = "ocid1.genaiagentendpoint.oc1.uk-london-1.xwywwkz7bn5f5aogazpvkijnoj2u75yadsq"
    generative_ai_agent_runtime_client = oci.generative_ai_agent_runtime.GenerativeAiAgentRuntimeClient(config,service_endpoint=service_ep)
    create_session_response = generative_ai_agent_runtime_client.create_session(
        create_session_details=oci.generative_ai_agent_runtime.models.CreateSessionDetails(
            display_name="Session",
            description="Session"),
        agent_endpoint_id=agent_ep_id)
    sess_id = create_session_response.data.id
    response = generative_ai_agent_runtime_client.chat(
        agent_endpoint_id=agent_ep_id,
        chat_details=oci.generative_ai_agent_runtime.models.ChatDetails(
            user_message=textinput,
            session_id=sess_id))
    output = response.data.traces[3].output
    output = eval(output)
    sql_response = output["result"]
    print("")
    print("SQL Response: " + str(sql_response))
    text_response = response.data.message.content.text
    print("")
    print("Text Response: " + str(text_response))
    

    To use this script you’ll need to update the following:

    Finally make sure you have the latest version of the OCI SDK for Python, to upgrade to the latest version run the following command –

    pip3 install oci --upgrade

    When run the output should look something like this:

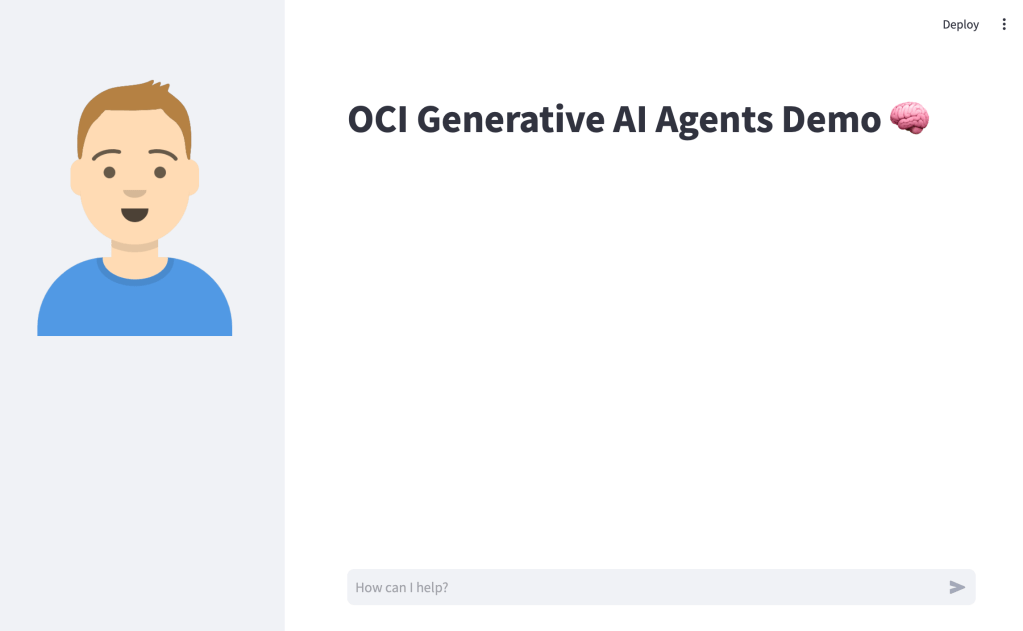
    Here is an example of how I’ve used matplotlib (within a Streamlit front-end) to visualise results using the raw output of the SQL query.

    As you can see below, it returns the conversational response, I then take the raw SQL output and use matplotlib to make it look pretty πŸ’„ – I may put together a post on this too.

    Thanks for reading!

  • Batch Converting Word Documents to PDF using Python πŸ

    I’ve been working on a project deploying an OCI Generative AI Agent πŸ€–, which I’ve previously spoken about here πŸ“Ό.

    Marketing blurbOCI Generative AI Agents is a fully managed service that combines the power of large language models (LLMs) with AI technologies to create intelligent virtual agents that can provide personalized, context-aware, and highly engaging customer experiences.

    When creating a Knowledge Base for the agent to use, the only file types that are supported (at present) are PDF and text files. I had a customer that needed to add Word documents (DOCX format) to the agent, rather than converting these manually which would have taken a lifetime πŸ•£, I whipped up a Python script that uses the docx2pdf package – https://pypi.org/project/docx2pdf/ to perform a batch conversion of DOCX files to PDF, one thing to note is that the machine that runs the script needs Word installing locally.

    Here is the script πŸ‘‡

    import os
    import docx2pdf # install using "pip install docx2pdf" prior to running the script
    os.chdir("/Users/bkgriffi/Downloads") # the directory that contains the folders for the source (DOCX) and destination (PDF) files
    def convert_docx_to_pdf(docx_folder, pdf_folder): # function that performs the conversion
        for filename in os.listdir(docx_folder):
            if filename.endswith(".docx"):
                docx_path = os.path.join(docx_folder, filename)
                pdf_filename = filename[:-5] + ".pdf"
                pdf_path = os.path.join(pdf_folder, pdf_filename)
                try:
                    docx2pdf.convert(docx_path, pdf_path)
                    print(f"Converted: {filename} to {pdf_filename}")
                except Exception as e:
                    print(f"Error converting {filename}: {e}")
    convert_docx_to_pdf("DOCX-Folder", "PDF-Folder") # calling the function, with a source folder named DOCX-Folder and a destination folder named PDF-Folder, these folders should reside in the directory specified in line 4
    

    Folder structure πŸ—‚οΈ

    Source DOCX files πŸ“„

    Script Running πŸƒ

    Output PDF files

    Once the documents have been converted to PDF format they could be added to an OCI Storage Bucket and ingested into the OCI Generative AI Agent.

  • Creating a front end for the OCI Generative AI Service using Streamlit πŸŽ¨

    I recently shared an example of how to create a basic front-end for an OCI Generative AI Agent using Streamlit, in this post I’m going to share how to do this for the OCI Generative AI Service, this is useful for demo’s when you need to incorporate a specific look and feel, something that’s a little more snazzy than the playground within the OCI Console! πŸ’»

    Here’s what the basic front-end I created looks like:

    Installing Streamlit is a breeze using the single command below.

    pip install streamlit
    

    Once I’d done this, I put together the following Python script to create the web app, this can also be downloaded from GitHub.

    Disclaimer: I’m no developer and this code is a little hacky, but it gets the job done!

    The following variables need to be updated before running the script:

    • st.title β€“ Set’s the title of the page
    • st.set_page_config – Set’s the name and icon to use for the page
    • st.sidebar.image β€“ Configures the image to use in the sidebar
    • config β€“ Set’s the OCI SDK profile to use, further info on this can be found here – https://docs.oracle.com/en-us/iaas/Content/API/Concepts/sdkconfig.htm
    • compartment_id – The compartment to make the request against, a the Generative AI Service doesn’t need to be provisioned, this can be useful for cost tracking and budgeting purposes (as spend is against a specific compartment).
    • endpoint – The endpoint for the region to pass the request to, a full list of the current endpoints can be found here, in my example I’m connecting to the Frankfurt endpoint.
    • model_id – The OCID of the model to call, the eaisest way to obtain this is via the OCI Console: Analytics & AI > Generative AI > Chat > View model details. This will provide a list of the models that are available, simply copy the OCID of the model you’d like to use. Further details on the difference between each of the models can be found here.

    import oci
    import streamlit as st
    
    st.set_page_config(page_title="OCI GenAI Demo Front-End",page_icon="πŸ€–")
    st.title("OCI GenAI Demo Front-End πŸ€–")
    st.sidebar.image("https://brendg.co.uk/wp-content/uploads/2021/05/myavatar.png")
    
    # GenAI Settings
    compartment_id = "Compartment OCID"
    config = oci.config.from_file(profile_name="DEFAULT")
    endpoint = "https://inference.generativeai.eu-frankfurt-1.oci.oraclecloud.com"
    model_id = "Model OCID"
    
    def chat(question):
        generative_ai_inference_client = oci.generative_ai_inference.GenerativeAiInferenceClient(config=config, service_endpoint=endpoint, retry_strategy=oci.retry.NoneRetryStrategy(), timeout=(10,240))
        chat_detail = oci.generative_ai_inference.models.ChatDetails()
        chat_request = oci.generative_ai_inference.models.CohereChatRequest()
        chat_request.message = question 
        chat_request.max_tokens = 1000
        chat_request.temperature = 0
        chat_request.frequency_penalty = 0
        chat_request.top_p = 0.75
        chat_request.top_k = 0
        chat_request.seed = None
        chat_detail.serving_mode = oci.generative_ai_inference.models.OnDemandServingMode(model_id=model_id)
        chat_detail.chat_request = chat_request
        chat_detail.compartment_id = compartment_id
        chat_response = generative_ai_inference_client.chat(chat_detail)
        return chat_response.data.chat_response.text
    
    # Initialize chat history
    if "messages" not in st.session_state:
        st.session_state.messages = []
    
    # Display chat messages from history on app rerun
    for message in st.session_state.messages:
        with st.chat_message(message["role"]):
            st.markdown(message["content"])
    
    # Accept user input
    if prompt := st.chat_input("What do you need assistance with?"):
        # Add user message to chat history
        st.session_state.messages.append({"role": "user", "content": prompt})
        # Display user message in chat message container
        with st.chat_message("user"):
            st.markdown(prompt)
    
        # Display assistant response in chat message container
        with st.chat_message("assistant"):
            response = chat(prompt)
            write_response = st.write(response)
        # Add assistant response to chat history
        st.session_state.messages.append({"role": "assistant", "content": response})
    

    You may also want to tweak the chat_request settings for your specific use-case for Generative AI, my example is tuned for summarisation. Details for what each of the settings does for the Cohere model (which I used), can be found here.

    Once this file has been saved, it’s simple to run with a single command:

    streamlit run OCI-GenAI-Streamlit.py
    

    It will then automatically launch a browser and show the web app in action πŸ–₯️

    This basic example can easily be updated to meet your requirements, the Streamlit documentation is very comprehensive and easy to follow with some useful examples – https://docs.streamlit.io/.

  • Creating a front end for an OCI Generative AI Agent using Streamlit πŸŽ¨

    I stumbled upon an amazing tool recently called Streamlit. Streamlit makes it super-simple to create web apps using Python without any front-end dev experience (which was music to my ears!).

    I had one use-case which was perfect for Streamlit – creating a front end for OCI Generative AI Agents. I’ve built a number of PoCs recently and have used the OCI Console to demonstrate an OCI Generative AI Agent in action, whilst this is functional, it’s not particularly pretty πŸ˜€.

    If you want to know more about OCI Generative AI Agents, be sure to check out this short video that I created that walks through the end-to-end process of creating an agent in less than 10 minutes ⏱️.

    Anyway……back to the main topic. The advantage of using Streamlit is that it enables custom web apps to be created in minutes, which are highly customizable and therefore perfect for PoCs to demonstrate the art of the possible .

    Before I jump into sharing the code, this is how the end result looked (running locally on my Mac, will also work on Windows too) – using an agent that I developed to help understand UK immigration policy πŸ“„. Here I am asking about the rules for an entrepreneur.

    Installing Streamlit is a breeze using the single command below.

    pip install streamlit
    

    Once I’d done this, I put together the following Python script to create the web app, this can also be downloaded from GitHub.

    Disclaimer: I’m no developer and this code is a little hacky, but it gets the job done!

    The following variables need to be updated before running the script – further info can be found in the code comments:

    • st.title – Set’s the title of the page
    • st.sidebar.image – Configures the image to use in the sidebar
    • config – Set’s the OCI SDK profile to use, further info on this can be found here – https://docs.oracle.com/en-us/iaas/Content/API/Concepts/sdkconfig.htm
    • service_ep – Defines the Generative AI Agent service endpoint to connect to (this varies by region)
    • agent_ep_id – Sets the OCID of the agent to connect to
    import streamlit as st
    import time
    import oci
    
    # Page Title
    st.title("OCI Generative AI Agents Demo 🧠") # Update this with your own title
    
    # Sidebar Image
    st.sidebar.image("https://brendg.co.uk/wp-content/uploads/2021/05/myavatar.png") # Update this with your own image
    
    # OCI GenAI settings
    config = oci.config.from_file(profile_name="DEFAULT") # Update this with your own profile name
    service_ep = "https://agent-runtime.generativeai.us-chicago-1.oci.oraclecloud.com" # Update this with the appropriate endpoint for your region, a list of valid endpoints can be found here - https://docs.oracle.com/en-us/iaas/api/#/en/generative-ai-agents-client/20240531/
    agent_ep_id = "ocid1.genaiagentendpoint.oc1.us-chicago-1.amaaaaaaayvpzvaa7z2imflumr7bbxeguh6y7bpnw2yie4lca2usxrct" # Update this with your own agent endpoint OCID, this can be found within Generative AI Agents > Agents > (Your Agent) > Endpoints > (Your Endpoint) > OCID
    
    # Response Generator
    def response_generator(textinput):
        # Initialize service client with default config file
        generative_ai_agent_runtime_client = oci.generative_ai_agent_runtime.GenerativeAiAgentRuntimeClient(config,service_endpoint=service_ep)
    
        # Create Session
        create_session_response = generative_ai_agent_runtime_client.create_session(
            create_session_details=oci.generative_ai_agent_runtime.models.CreateSessionDetails(
                display_name="USER_Session",
                description="User Session"),
            agent_endpoint_id=agent_ep_id)
    
        sess_id = create_session_response.data.id
    
        response = generative_ai_agent_runtime_client.chat(
            agent_endpoint_id=agent_ep_id,
            chat_details=oci.generative_ai_agent_runtime.models.ChatDetails(
                user_message=textinput,
                session_id=sess_id))
    
        #print(str(response.data))
        response = response.data.message.content.text
        return response
    
    # Initialize chat history
    if "messages" not in st.session_state:
        st.session_state.messages = []
    
    # Display chat messages from history on app rerun
    for message in st.session_state.messages:
        with st.chat_message(message["role"]):
            st.markdown(message["content"])
    
    # Accept user input
    if prompt := st.chat_input("How can I help?"):
        # Add user message to chat history
        st.session_state.messages.append({"role": "user", "content": prompt})
        # Display user message in chat message container
        with st.chat_message("user"):
            st.markdown(prompt)
    
        # Display assistant response in chat message container
        with st.chat_message("assistant"):
            response = response_generator(prompt)
            write_response = st.write(response)
        # Add assistant response to chat history
        st.session_state.messages.append({"role": "assistant", "content": response})
    

    Once this file has been saved, it’s simple to run with a single command:

    streamlit run OCI-GenAI-Agents-Streamlit.py
    

    It will then automatically launch a browser and show the web app in action πŸ–₯️

    This basic example can easily be updated to meet your requirements, the Streamlit documentation is very comprehensive and easy to follow with some useful examples – https://docs.streamlit.io/.