
I previously wrote about how to create a basic front-end for an OCI Generative AI Agent using Streamlit (which can be found here) 🎨.
I often use Streamlit to create quick customer demo’s and PoCs for OCI Generative AI Agents. One thing that is really useful is the ability to run a Streamlit app within a container instance rather than locally on my laptop – which is ideal when I need to quickly give others access to the apps that I have built.
Here is a quick guide as to how to take a Streamlit app and run this within an OCI Container Instance 📋.
Step 1 – Ensure Container Instances have access to the Gen AI Agent service and Container Registry ✅
To do this we will need to create a Dynamic Group within OCI IAM, with the following rule:

ALL {resource.type='computecontainerinstance'}This rule will ensure that every Container Instance within the tenancy is added to the Dynamic Group, which in this example is named “ContainerInstances” – how original! In the real-world, you may want to be more specific and specify a single container instance or Compartment as a member of the Dynamic Group.
Now that the Dynamic Group has been created, we need to create a Policy that provides this group (e.g. all container instances within the tenancy) access to pull images from the OCI Container Registry and also grant it access to the OCI Generative AI Agents service, the reason for the latter is that we will use Resource Principal authentication to authenticate the container instance to the service, rather than the API Keys for a specific user account (which is safer as we won’t need to include any keys within the container image! 🔑).
The policy should have the following two statements:
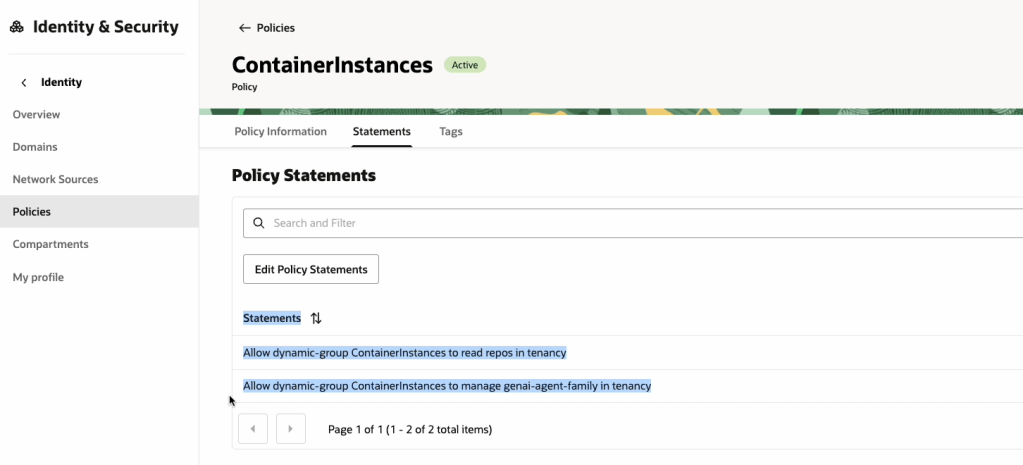
Allow dynamic-group ContainerInstances to read repos in tenancy
Allow dynamic-group ContainerInstances to manage genai-agent-family in tenancy
Now that we’ve got the Dynamic Group and Policy created, we can move on to Step 2!
Step 2 – Obtain an auth token and get the tenancy namespace ✅
An auth token is required to authenticate to the OCI Container Registry service, which is required when pushing the container image to the registry.
To create an Auth Token, do the following:

Make sure that you copy the Auth Token somewhere safe as you will not be able to re-retrieve it after creation ⛔️.
We now need to get the tenancy namespace, which is required to authenticate to the Container Registry, this can be obtained as follows:

Now onto Step 3 👇
Step 3 – Create a Container Image of the Streamlit App ✅
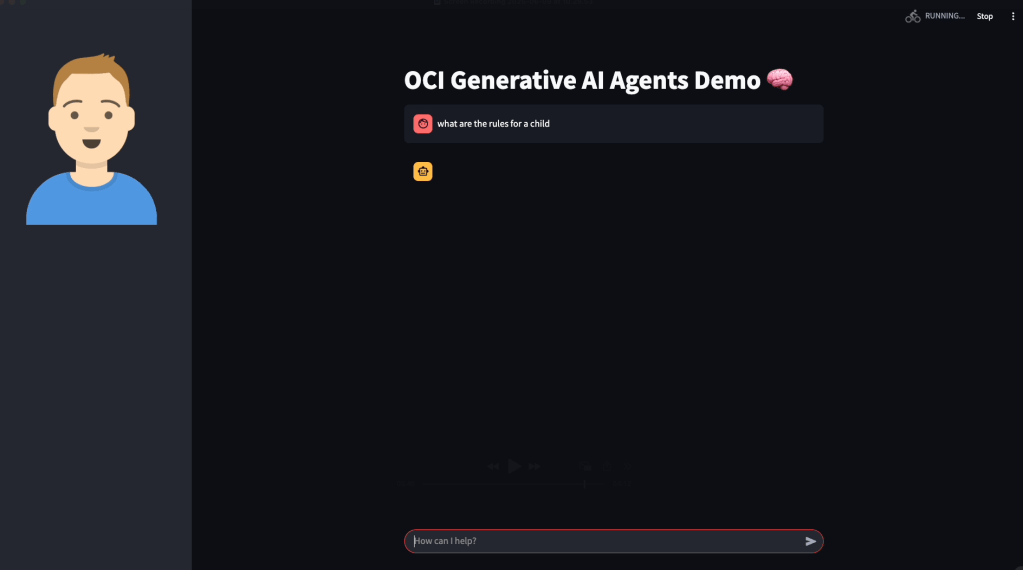
The code that I will use for the Streamlit App can be found on GitHub, this is a basic app that connects to an OCI Generative AI Agent and allows a user to ask the agent questions:
Once you have this, two additional files are required to create the container image:
requirements.txt, which should contain the following and includes the Python packages required to run the Streamlit app:
streamlit
oci
…and Dockerfile (no file extension required!), which is used to create the container image. This will launch the Streamlit app listening on port 80. Ensure that you update the name of the Python script (in this case OCI-GenAI-Agent-Streamlit.py) to reflect the name of the script you need to run.
FROM python:3
WORKDIR /app
COPY . /app
RUN pip install --no-cache-dir -r requirements.txt
EXPOSE 80
ENTRYPOINT ["streamlit", "run", "OCI-GenAI-Agent-Streamlit.py", "--server.port=80", "--server.address=0.0.0.0"]
Place the requirement.txt, Dockerfile and Python script into a single directory:

…and then zip this up.
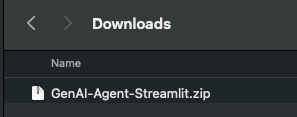
Now login to the OCI Console, launch Cloud Shell, upload the zip file and uncompress (this is a quick way to transfer the files).

We can now create the container image and upload this to the container registry, to do this run the following commands – make sure you run these from the directory that has been un-zipped, which contains the Streamlit app.
docker login lhr.ocir.io --username namespace/username The namespace was obtained in Step 2, the username is your username (what else could it be 😂), for example within my case, this is:
docker login lhr.ocir.io --username lrdkvqz1i7e6/brendankgriffin@hotmail.com You may also need to update lhr.ocir.io to the correct endpoint for the container registry in your tenancies region, a full list of endpoints can be found here.
It will then prompt for your password, for this you will need to enter the Auth Token 🎫 obtained in Step 2 (you did save this, right?)
Here’s a short run-through of this:

Next step is to build the container image and upload this to the container registry, you will need to run the following commands to do this.
docker build --tag lhr.ocir.io/lrdkvqz1i7e6/streamlit:latest .Make sure that you update the endpoint (lhr.ocir.io) if needed and namespace (lrdkvqz1i7e6). This command will build the container image and tag it with the name streamlit:latest – this command needs to be run from the un-zipped directory that contains the Streamlit app files.
Once it has built, it can be pushed to the OCI Container Registry using the following command:
docker push lhr.ocir.io/lrdkvqz1i7e6/streamlit:latestUpdate the namespace and endpoint appropriately.
Here’s a short walkthrough of this:

Step 4 – Create a container instance from the container image ✅
We are nearly there 🏁, the final step is to create a container instance from the container image that we have just pushed to the container registry.
To do this, you’ll need a Virtual Cloud Network (VCN) that has a public subnet (so that we can make the instance available over the Internet 🌍), if you don’t have one, you can use the VCN Wizard to quickly do this, as documented here.
Make sure you have a Security List 📋 entry that permits access to the public subnet within the VCN on port 80 – in my case from any public IP address, but you may want to restrict this to specific public IP addresses.
Once you have confirmed that you have a VCN in place, we can go through the process of creating the container instance using the container image that we just created.
I’ve used the default settings for creating a container instance, in the real-world, you’d need to select an appropriate compute shape (CPU/memory).
Grab the public IP address assigned to the container instance and open this in your browser of choice, the Streamlit app should open (all being well!).

You may want to create a DNS entry and point this towards the public IP, to make it easier to access.
Also in my final disclaimer, for anything but quick and dirty demo’s you should run this over SSL with authentication too! An OCI Load Balancer can be used to do SSL termination and Streamlit provide a useful guide on performing authentication, which can be found here.
…and that’s it!

Leave a comment