
I’ve previously written about how I setup a site-to-site VPN between a Raspberry Pi and OCI, this has worked like a charm and I’ve had no issues with it. This works really well when I’m at home, but as I often travel and need a convenient way to VPN into my OCI tenancy I started exploring running OpenVPN in OCI, this would enable me to install a VPN client on my laptop/phone and conveniently VPN into my tenant from wherever I am in the world 🌍.
There is a pre-configured marketplace image for OpenVPN available within OCI, further information on this can be found here. The one drawback to this is that it only supports deployment on x64 VM instances, I’m tight and wanted to deploy OpenVPN on a free Ampere (ARM) VM instance so that it didn’t cost me a penny 🪙.
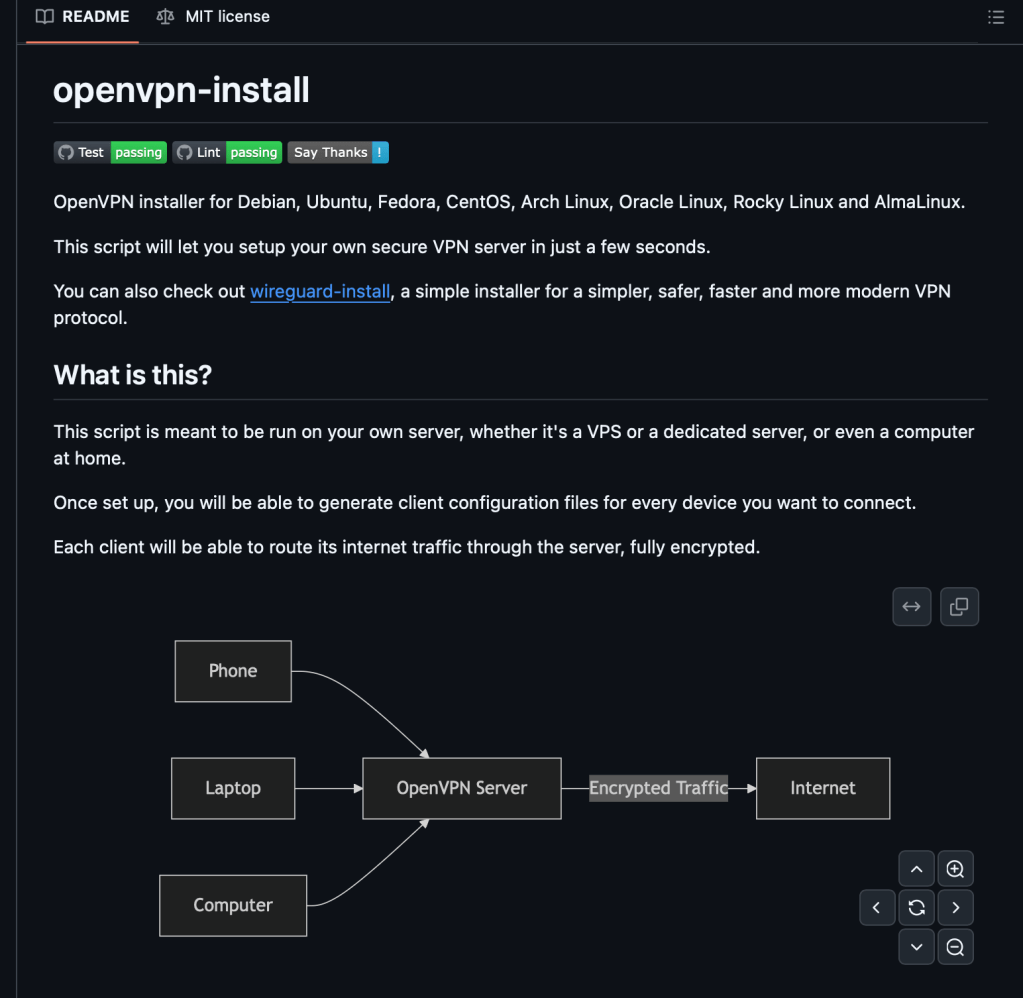
Rather than muck about and learn how to setup OpenVPN and go through the process manually, I stumbled across this fantastic script that fully automates the configuration ✅.
I have a single Virtual Cloud Network (VCN) that I need access to, this VCN has a private and a public subnet, the resources that I need access to all reside within the private subnet and are not directly accessible via the Internet (hence the need for a VPN!).
Below is the end-to-end process that I followed for setting up OpenVPN in OCI.
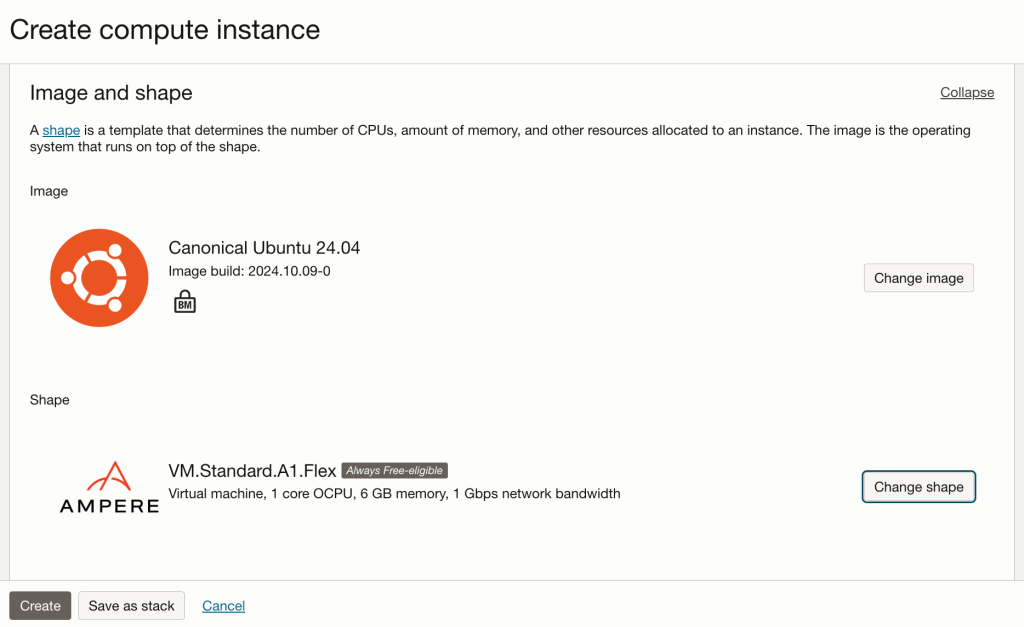
Step 1 – Provisioned an Ampere VM instance running Ubuntu 24.04, with 1 OCPU and 6GB memory, deployed this within the public subnet within the VCN.
Step 2 – Ran the OpenVPN installation and configuration script found here, taking the defaults for everything.
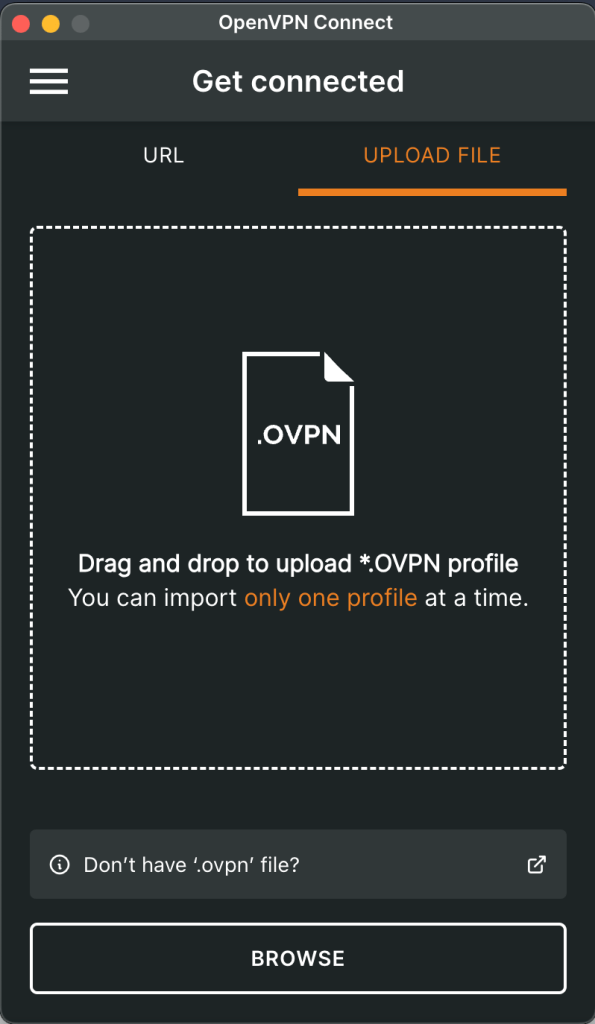
Step 3 – Copied the VPN connection profile that the setup created from the OpenVPN server to my local machine (.ovpn file).

Step 4 – Before attempting to connect to the OpenVPN server I needed to open UDP port 1194 which is the port that OpenVPN listens on.
As I only have a single server within the public subnet in the VCN, I simply added an entry to the Security List associated with the public subnet, using a Network Security Group is the recommended way to do this – especially when you have multiple instances within a public subnet, however I wanted a quick and dirty solution 😀.
The rule I added provides access to UDP port 1194 from anywhere to the OpenVPN server within the public subnet.

Step 5 – Enable IP forwarding on the OpenVPN server, using the guidance found here.
Step 6 – Installed the client for OpenVPN from https://openvpn.net/client/, clients are available for Windows, MacOS, Linux, Android, iOS and Chrome OS, so plenty of choice!
Once the profile was imported, I could connect!
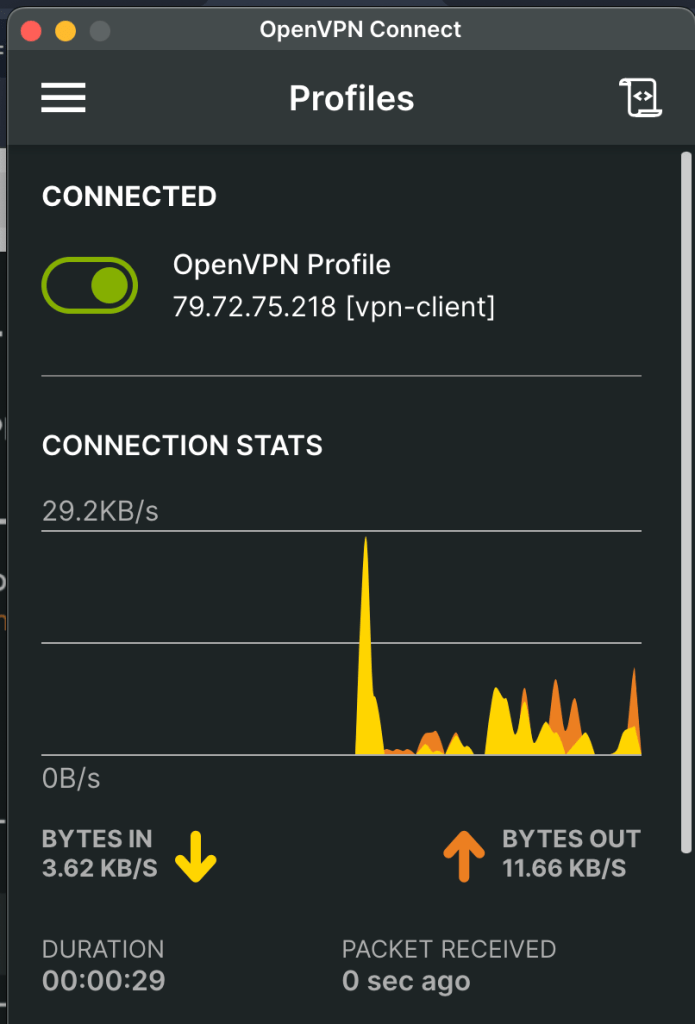
That was it – I was really impressed with the ease of setting this up, even better it doesn’t cost me a penny 🪙!

Leave a comment