
I previously wrote about how ShowOCI can be used to automagically document the configuration of an OCI tenant.
My next top tip is to run the OCI Security Health Check against your tenant. This tool compares the configuration of a tenant against the CIS OCI Foundations Benchmark and reports any issues that require remediation 🔐.
In today’s risky world where security breaches are a regular occurrence, it’s critical that you assess your security posture on a regular basis and perform any required remediation to ensure that you are a step ahead of the attackers – this is where the OCI Security Health check makes this a lot simpler for you (for your OCI workloads at least 😉.)
I ran this against my test tenancy using the Cloud Shell (it can also be run from a compute instance), with the following commands:
Step 1 – Download and Unzip the Assessment Scripts ⬇️
wget https://github.com/oracle-devrel/technology-engineering/raw/main/security/security-design/shared-assets/oci-security-health-check-standard/files/resources/oci-security-health-check-standard-260105.zip
unzip oci-security-health-check-standard-260105.zip
Should this link not work (e.g. if the assessment has been updated), the folder within the repo that should contain the Zip file can be found here.
Step 2 – Run the Assessment 🏃
cd oci-security-health-check-standard-260105
chmod +x standard.sh
./standard.sh
Step 3 – Inspect the Findings 🔎
Within the directory that the script is run from a folder is created that stores the output of the assessment:

In my case this was brendankgriffin_20240712102613_standard. This directory contained the following files:

To view these, I transferred them to my local machine using the download option within the Cloud Console.

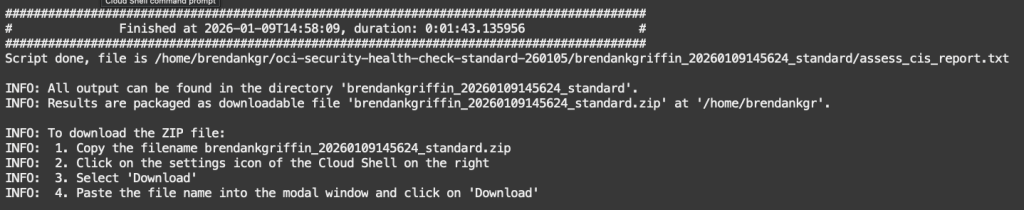
The tool provides instructions on how to download a Zipped copy of the assessment output – this is presented when the assessment tool finishes.
I could then open the Zip file to review the findings, the first file I opened was standard_cis_html_summary_report.html, which contains a summary of the findings of the assessment.

It didn’t take too much scrolling to start to see some red! ⛔️

Clicking into the identifier of a finding (e.g. 6.2) provides additional background and context, which is useful for understanding the finding in greater detail and helping with remediation planning.

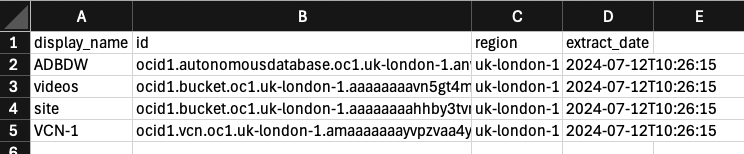
Each finding includes a link to the respective CSV file, where you can get additional details on the affected resources/configurations – below you can see a list of the resources that I naughtily created in the root compartment 🤦♂️.
My recommendation would be to run the Security Assesment regularly (e.g. monthly), to proactively identify and resolve any security issues.
That’s all for now 👋.

Leave a comment