
During the recent internal Microsoft Hackathon, I was part of a team that developed a prototype solution to manage EV charging stations within an office, to enable employees to book a timeslot for charging their vehicle and be assigned an available charging station at the selected time.
With the rise of EV’s it’s likely that the management of EV charging within an office will become a problem shortly (if not already!) therefore this was the perfect challenge for us to tackle!
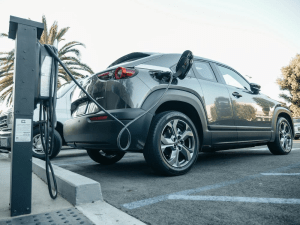
My contribution to this solution was license plate detection – we needed to be sure that employee’s pulling into an EV charging bay had a valid booking, therefore I needed to create something that would detect a car in the charging bay, read it’s license plate and then pass this to the back-end to confirm that the vehicle has a valid booking, the plan was then to enable the EV charger if the booking was confirmed (we still need to build that part!).
I put together a prototype solution using a Raspberry Pi Model 3B+, Camera Module, a PIR sensor, Azure Cognitive Services (Computer Vision) and Python.
For my “state of the art” prototype I also created some EV bays using a piece of paper, borrowed one of my son’s toy cars (which I stuck a homemade license plate to).
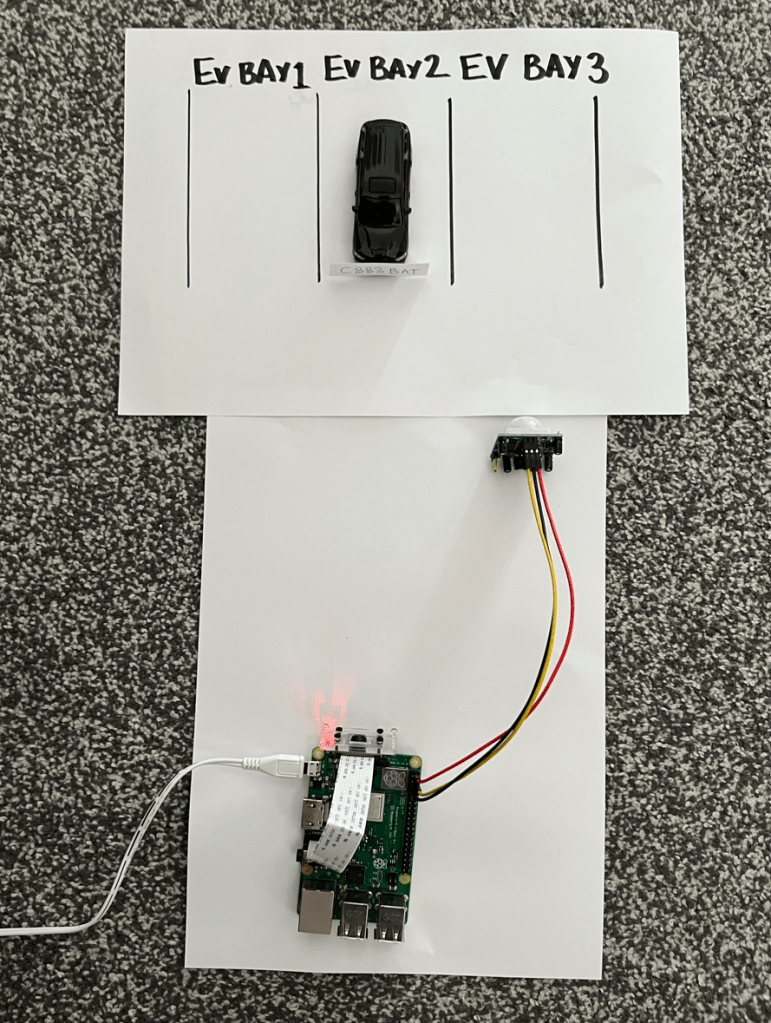
The solution does the following:
- Uses the PIR to detect a car entering the charging bay
- Uses the Raspberry Pi Camera to take a photo of the license plate
- Submits the photo to Azure Cognitive Services Computer Vision to detect the text on the license plate
- Returns the detected text
In the full solution after returning the detected text, this is passed to a back end to confirm that the booking is valid, however this is out of scope for this post (although I may cover that in a future post).
Here’s a short video of it in action (ignore the mention of the Logic App, this is what we are using to connect to the back-end to validate the booking):
Here’s the Python script that I created to do this, which can also be found on GitHub
import requests
import json
import time
from io import BytesIO
from picamera import PiCamera
from gpiozero import MotionSensor

pir = MotionSensor(4)

def take_image():
    print("Taking photo of reg plate...")
    camera = PiCamera()
    camera.rotation = 180 # depending on how the camera is placed, this line may need to be removed
    camera.start_preview()
    time.sleep(3)
    camera.capture("regplate.jpg")
    camera.stop_preview()
    camera.close()
    print("Photo taken successfully!")

def analyze_image(image):
    print("Analyzing photo...")
    url = "https://RESOURCENAME.cognitiveservices.azure.com/vision/v3.0/read/analyze" # Endpoint URL for Azure Cognitive Services
    key = "KEY" # Key for Azure Cognitive Services

    image_path = image
    image_data = open(image_path, "rb").read()

    headers = {"Ocp-Apim-Subscription-Key" : key,'Content-Type': 'application/octet-stream'}
    r = requests.post(url,headers = headers, data=image_data)

    operation_url = r.headers["Operation-Location"]

    analysis = {}
    poll = True
    while (poll):
        response_final = requests.get(r.headers["Operation-Location"], headers=headers)
        analysis = response_final.json()

        time.sleep(1)
        if ("analyzeResult" in analysis):
            poll = False
        if ("status" in analysis and analysis['status'] == 'failed'):
            poll = False

    lines = []
    for line in analysis["analyzeResult"]["readResults"][0]["lines"]:
        lines.append(line["text"])

    print("-Reg plate analyzed as " + str(lines[0].replace(" ",""))) # Report the first string detected in the analysis - this may need to be tweaked

while True:
    print("Waiting for car...")
    pir.wait_for_motion()
    print("Car detected!")
    time.sleep(2)
    take_image()
    reg = analyze_image("regplate.jpg")
    pir.wait_for_no_motion()
Some points to note:
- I used the legacy Buster Version of Raspberry Pi OS as I had some issues with the camera when running Bullseye, if you’d like to use this script with Bullseye, you’ll need to either enable the legacy camera stack OR update the take_image() function to use libcamera-jpeg.
- The PIR was attached to GPIO4 (pin 7), VCC connected to pin 2 and GND to pin 6 – a handy reference can be found here.
- You will need to update the url (replace RESOURCENAME with the name of your resource) and key (with your key) within the analyze_image function with your values from Azure Cognitive services, if you’ve never used it before, here is a guide on how to create a resource.

Leave a comment